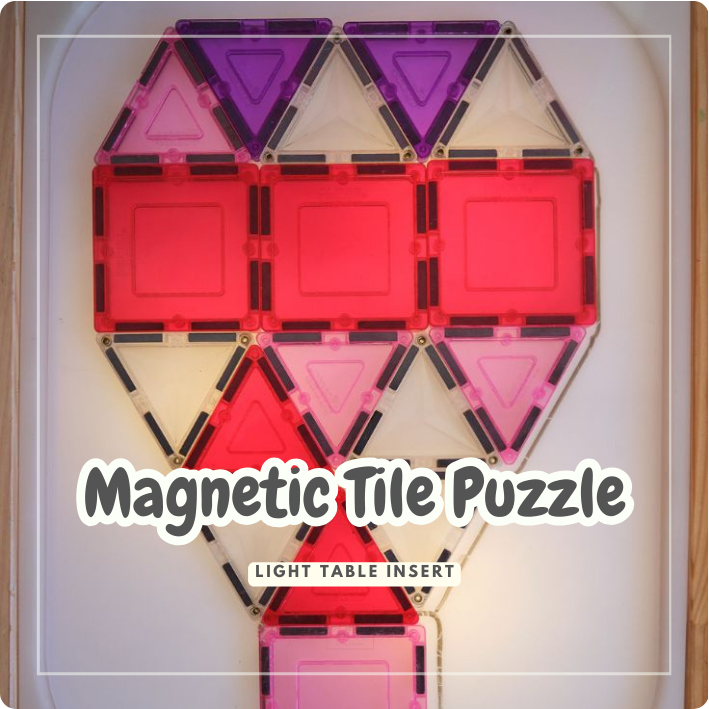
💡 A Bright and Engaging Magnetic Tile Challenge
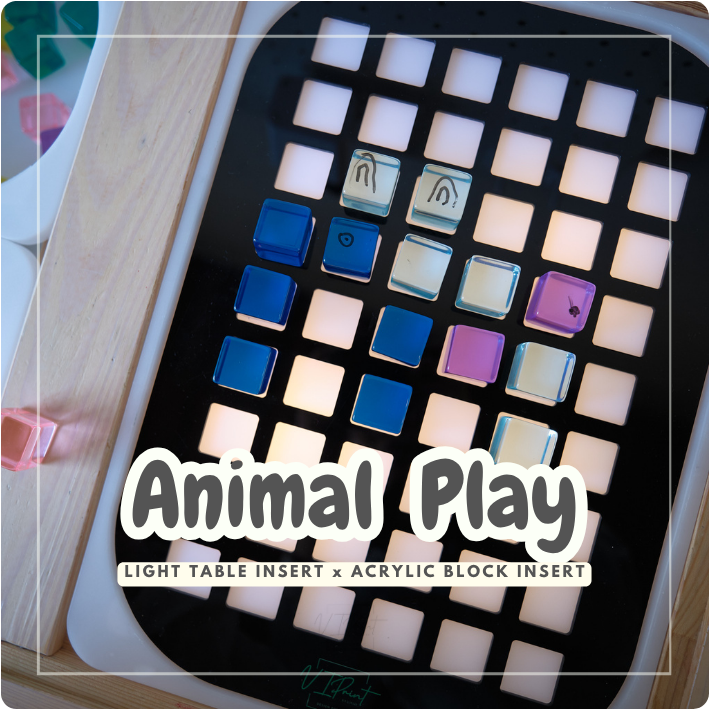
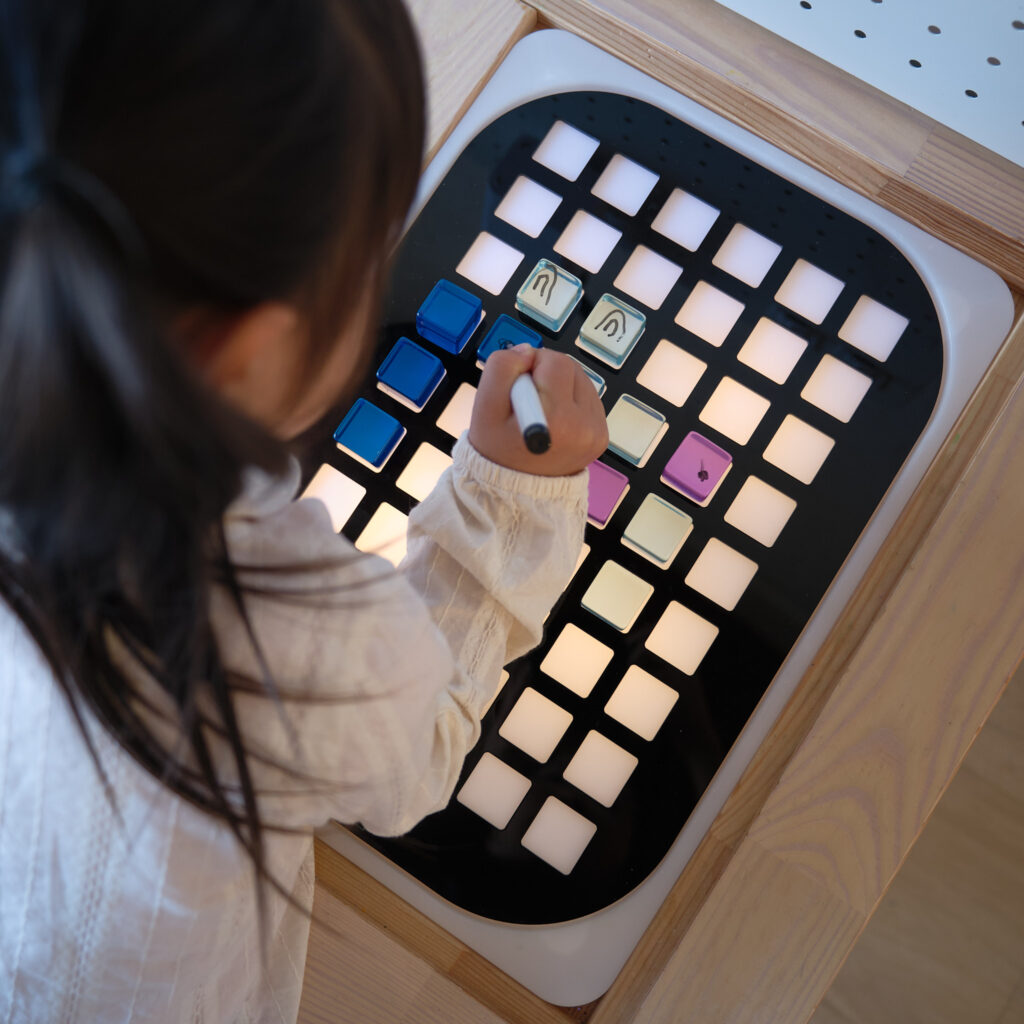
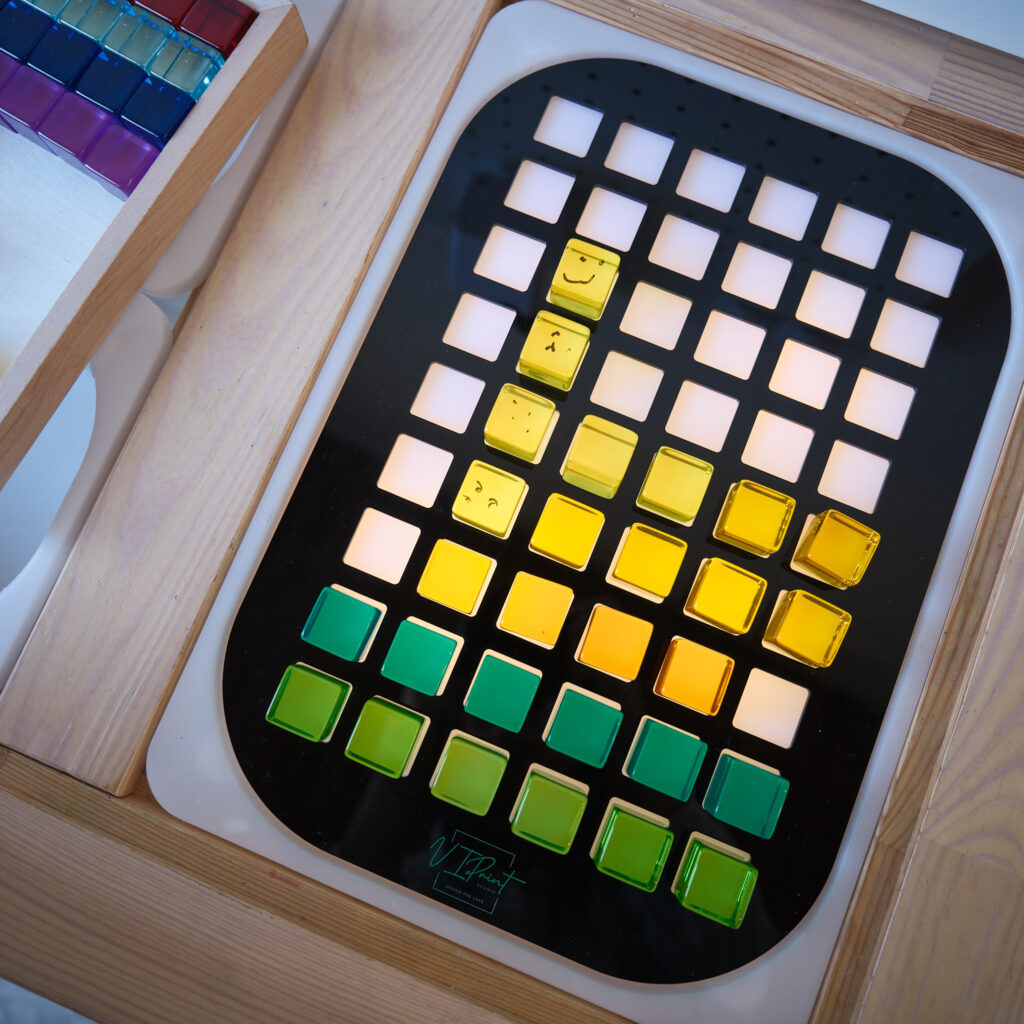
This magnetic tile puzzle activity combines creativity, problem-solving, and glowing light table magic. By tracing the outline of magnetic tiles with a dry erase marker on a VIPrint Studio Light Table Insert, you create a custom puzzle kids can solve again and again. Remove the tiles, turn on the light table, and let children match each tile back to its glowing shape!
Perfect for shape recognition, logical thinking, and a calming play invitation.
🧺 Materials
✔ VIPrint Studio Light Table Insert with light source of your choice
✔ IKEA Flisat Sensory Table (to hold the insert)
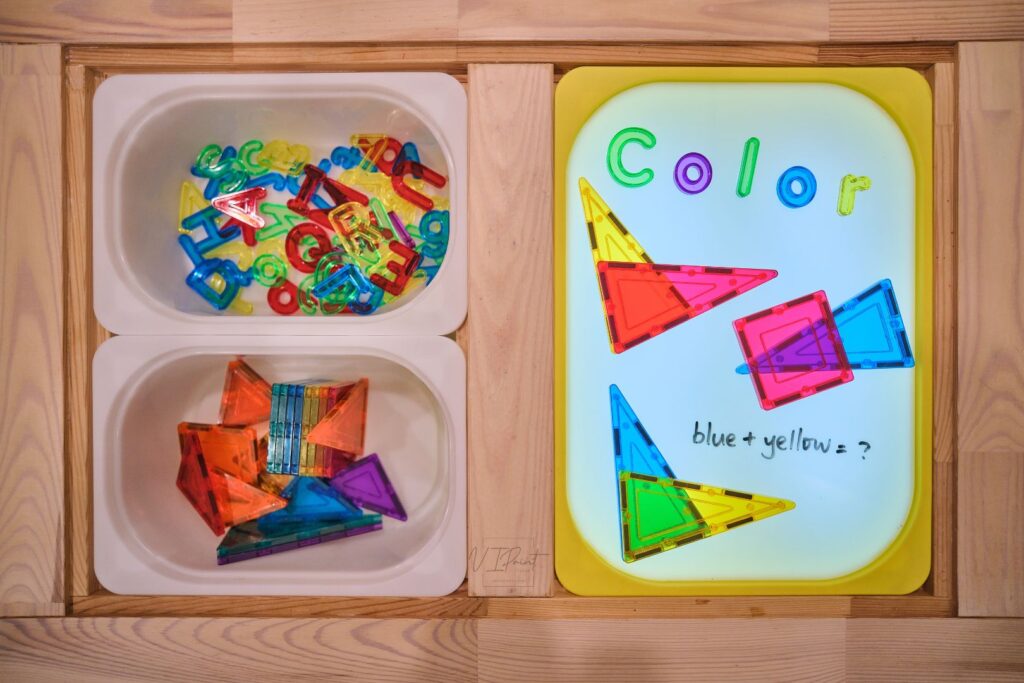
✔ Magnetic tiles (any brand with translucent tiles works great)
✔ Dry erase marker
✔ Dry erase eraser or paper towel
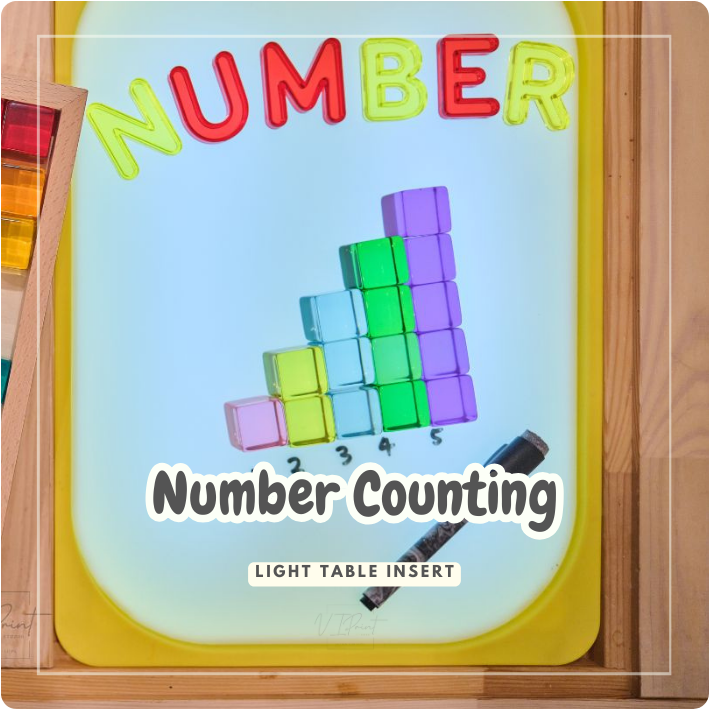
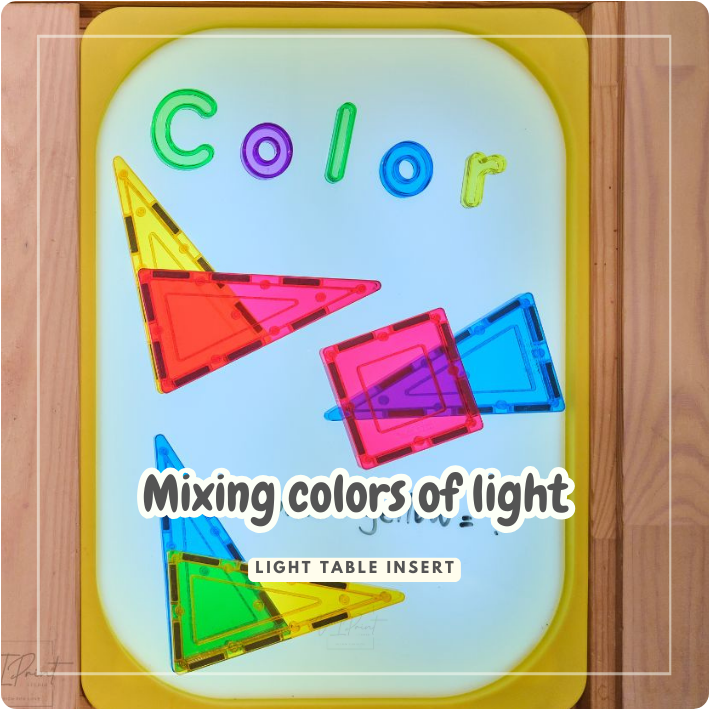
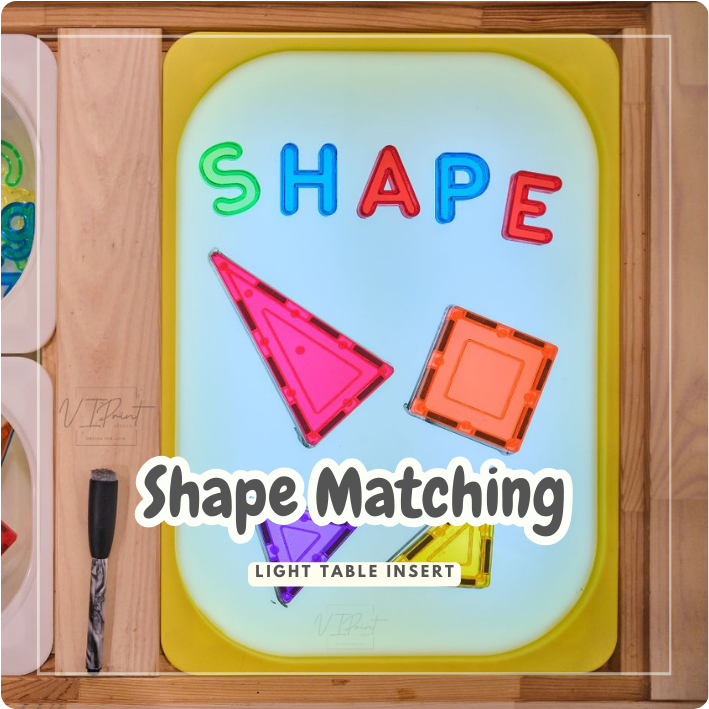
Recommended products
💡 How to Play
- Place the Light Table Insert onto the IKEA Flisat Sensory Table.
- Arrange magnetic tiles on the insert in any design — simple shapes, patterns, or a full picture.
- Use a dry erase marker to trace around each tile, creating clear outlines.
- Remove all the magnetic tiles.
- Turn on your light table — the outlines will glow and become a puzzle!
- Invite your child to match each magnetic tile back into its correct spot.
- Wipe clean and create a brand-new puzzle anytime.
🎯 Learning Benefits
- 🔷 Strengthens shape recognition and visual matching
- 🧠 Boosts problem-solving and logical reasoning
- ✋ Builds fine motor skills through careful placement
- 🎨 Encourages creativity when designing new puzzles
- ✨ Extra sensory engagement with glowing light table play
🧩 Extension Ideas
- Create puzzles using color families (all blue shapes together, all green, etc.)
- Make holiday-themed outlines (tree, star, heart, pumpkin…)
- Let older kids design the puzzle themselves for siblings to solve
- Time the challenge for a fun puzzle race
- Build 3D structures, trace them, and compare 2D vs 3D shapes
🧽 Cleanup Tip
Wipe the insert clean using a dry erase eraser or a damp paper towel.
If the marker dries or leaves residue, a little soap and water will make the surface spotless again.
✨ Closing
This glowing magnetic tile puzzle is simple to set up yet incredibly engaging. Kids love the challenge of matching shapes on the illuminated surface, and you’ll love how easy it is to reset and reinvent. A perfect blend of sensory play, learning, and creative exploration!